


Happy Tuesday, my Darlings. I’m super excited about the first installment of my new, education series! Read on, friends, read on…
One of the things that we’re known for here at KMP is our luminous light, and specifically our tendency to back light our subjects. The phrase “back lighting” simply means placing your source of light behind your subject. You will rarely (if ever) be facing the sun if we are photographing you. Having your subjects face the sun will result some very unwanted consequences (yes, consequences) that are quite unflattering: squinting the eyes, shadows under the nose, brow bones and chin, and harsh light on the skin, to mention a few. Let’s jump in, shall we?
.1 Expose for your subject, and not for the sky.

We spot meter when we shoot (you can adjust the way your camera meters light within your camera’s menu settings) and expose for the faces of our subjects. When the sun is very low in the sky (sunrise or sunset), exposing for your subject will mean that areas of the sky may be blown out. You can always use the recovery slider in editing to bring back some of those highlights, or change your settings (ISO, shutter speed and aperture) while shooting to bring down the total exposure in camera. You’ll have to decide how comfortable you are when it comes to over exposing your images and what works with your personal editing style. In general, we over expose our images at least 1-2 stops, and far more than that while shooting film, but that’s a different blog post 🙂
2. Break up the sun.

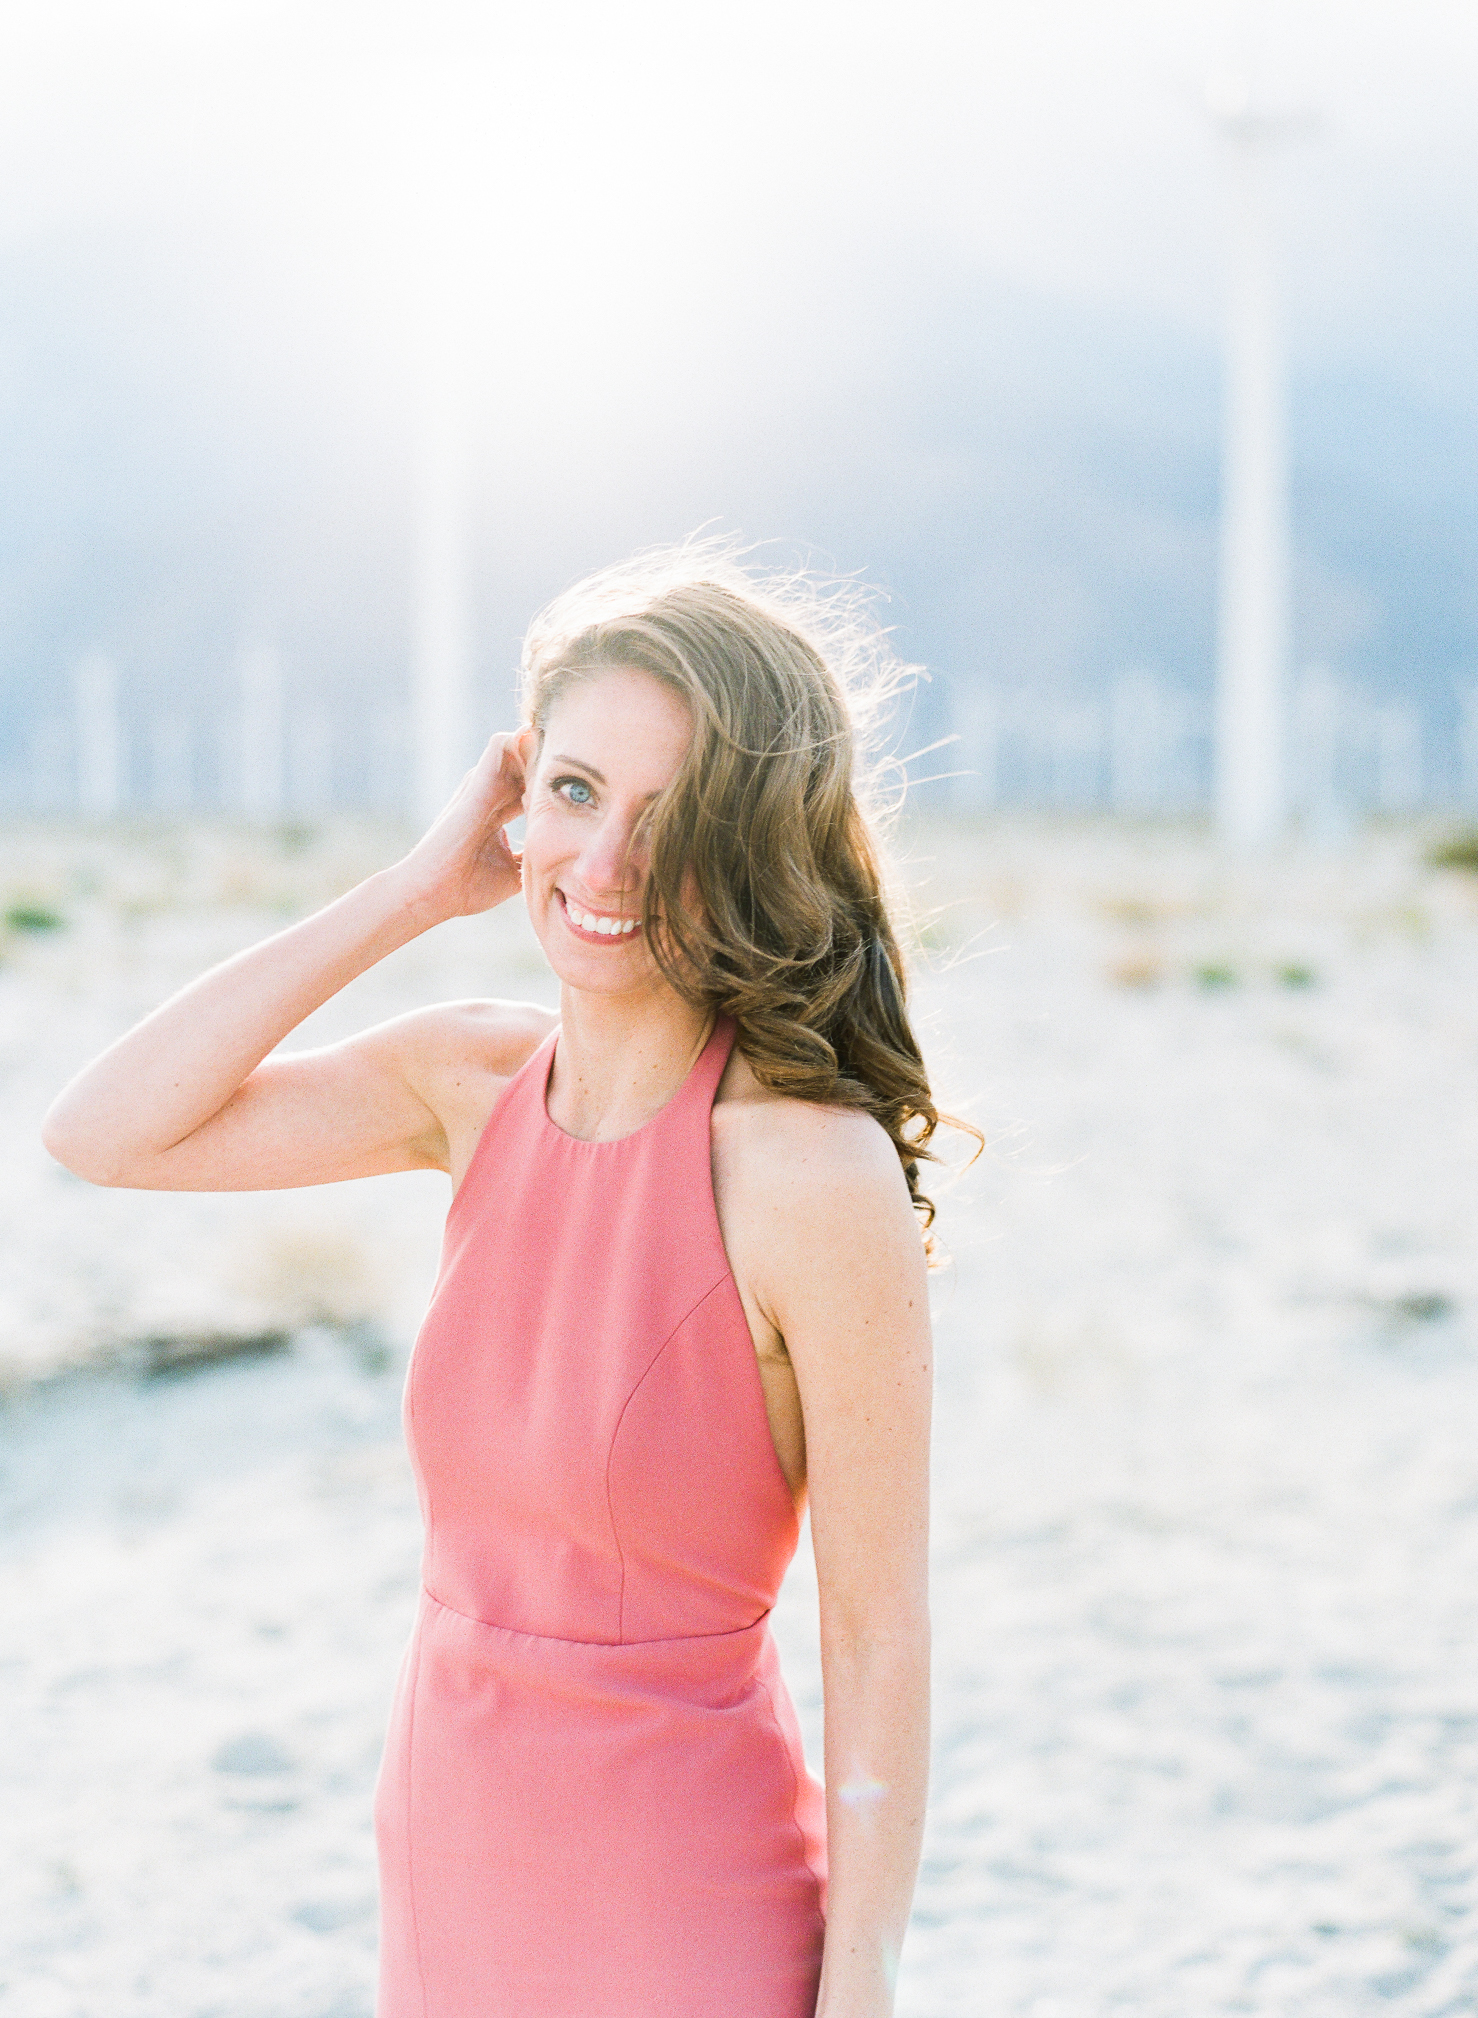
One of the tricks we use to deal with that harsh, desert sun is to break it up! Try to place the sun behind the branches of a tree (my personal favorite), at the edge of a building or just outside of your frame. You should also be communicating the importance of “golden hour” to your clients, and schedule your sessions accordingly. Sunlight is most glorious just after it’s dipped behind the mountains, and in those precious, few moments before. It’s warm, it’s soft, it’s like butter. Seriously, reeeeeaaaaaal butter. Shooting with the entire sun in your frame can cause serious lens flare. When you place your subjects to the “side” of the sun (in your frame), or you break up the sun a bit with the methods I mentioned above, you will be able to avoid lens flare that can render an image unusable. In the image above, you’ll see that the sun was behind the branches of a tree, and it created a small lens flare right by her arm. So lovely! That little flare adds character, and you can tell that it was not an after-effect created in Photoshop.
3. Shoot in Manual Mode.

Don’t freak out! If you haven’t made the switch from Auto to Manual, then please consider this your official kick-in-the-pants. Feel the fear and do it anyway! If you’re shooting in Auto, then your camera will be very, very angry at you the moment you try to back light your subjects. Your images will likely be very, very underexposed. When you take control of your camera, you get to decide what the ISO, shutter speed and aperture should be. You’re the boss, and you get to be creative! In the image above, I was shooting a 400 speed film, my aperture was 2.8, and my shutter speed was 1/125. Now, film is very light hungry so those settings were just perfect for that moment. Had I been shooting digital, my shutter speed would have been faster so that the image wouldn’t have been too over exposed.
OK friends, that’s all for now. I could write a book about this topic, but I don’t think I have the time. I’d love your feedback on this post, and other like this in the future. Feel free to leave your comments or questions below and I’ll do my best to answer each one 🙂 Happy back lighting!
Leave a Reply


CLICK HERE
Hi Katie! I love the tips, great idea!
Do you use reflectors to add light to the front of your subject? Or is the light balance usually close to how you want it?
Hi Nathan! GREAT Question! We don’t use reflectors, BUT occasionally we will use a sheer scrim for a little fill light. We usually aren’t too worried about bouncing light back at our subjects, but if the light is feeling waaaaaay to “contrasty”, we will hold up the scrim to the side, just just a *bit* of fill light. Even though it’s sheer, it’s still white, so it adds a tiny bit of a glow 🙂
Very interesting, I don’t believe I have heard that before. Thanks for the quick response!